How to Make Vinyl Stickers at Home in 2026?

How to Make Vinyl Stickers at Home in 2026? It’s easier than ever — but only if you use the right materials, the right settings, and a workflow that doesn’t waste half your sheet on test cuts and bad lamination.
A lot of people jump into DIY sticker making because it looks simple on social media. Then reality hits: blurry prints, peeling edges, air bubbles, weak adhesive, and colors that look nothing like the screen.
The good news? You can absolutely make professional-looking vinyl stickers from your kitchen table or craft corner. If you want to decorate bottles, label products, start a side hustle, or just make weather-resistant decals that actually last, this guide will show you exactly how to do it.
Best Vinyl Stickers in 2026 #
We researched and compared the top options so you don’t have to. Here are our picks.
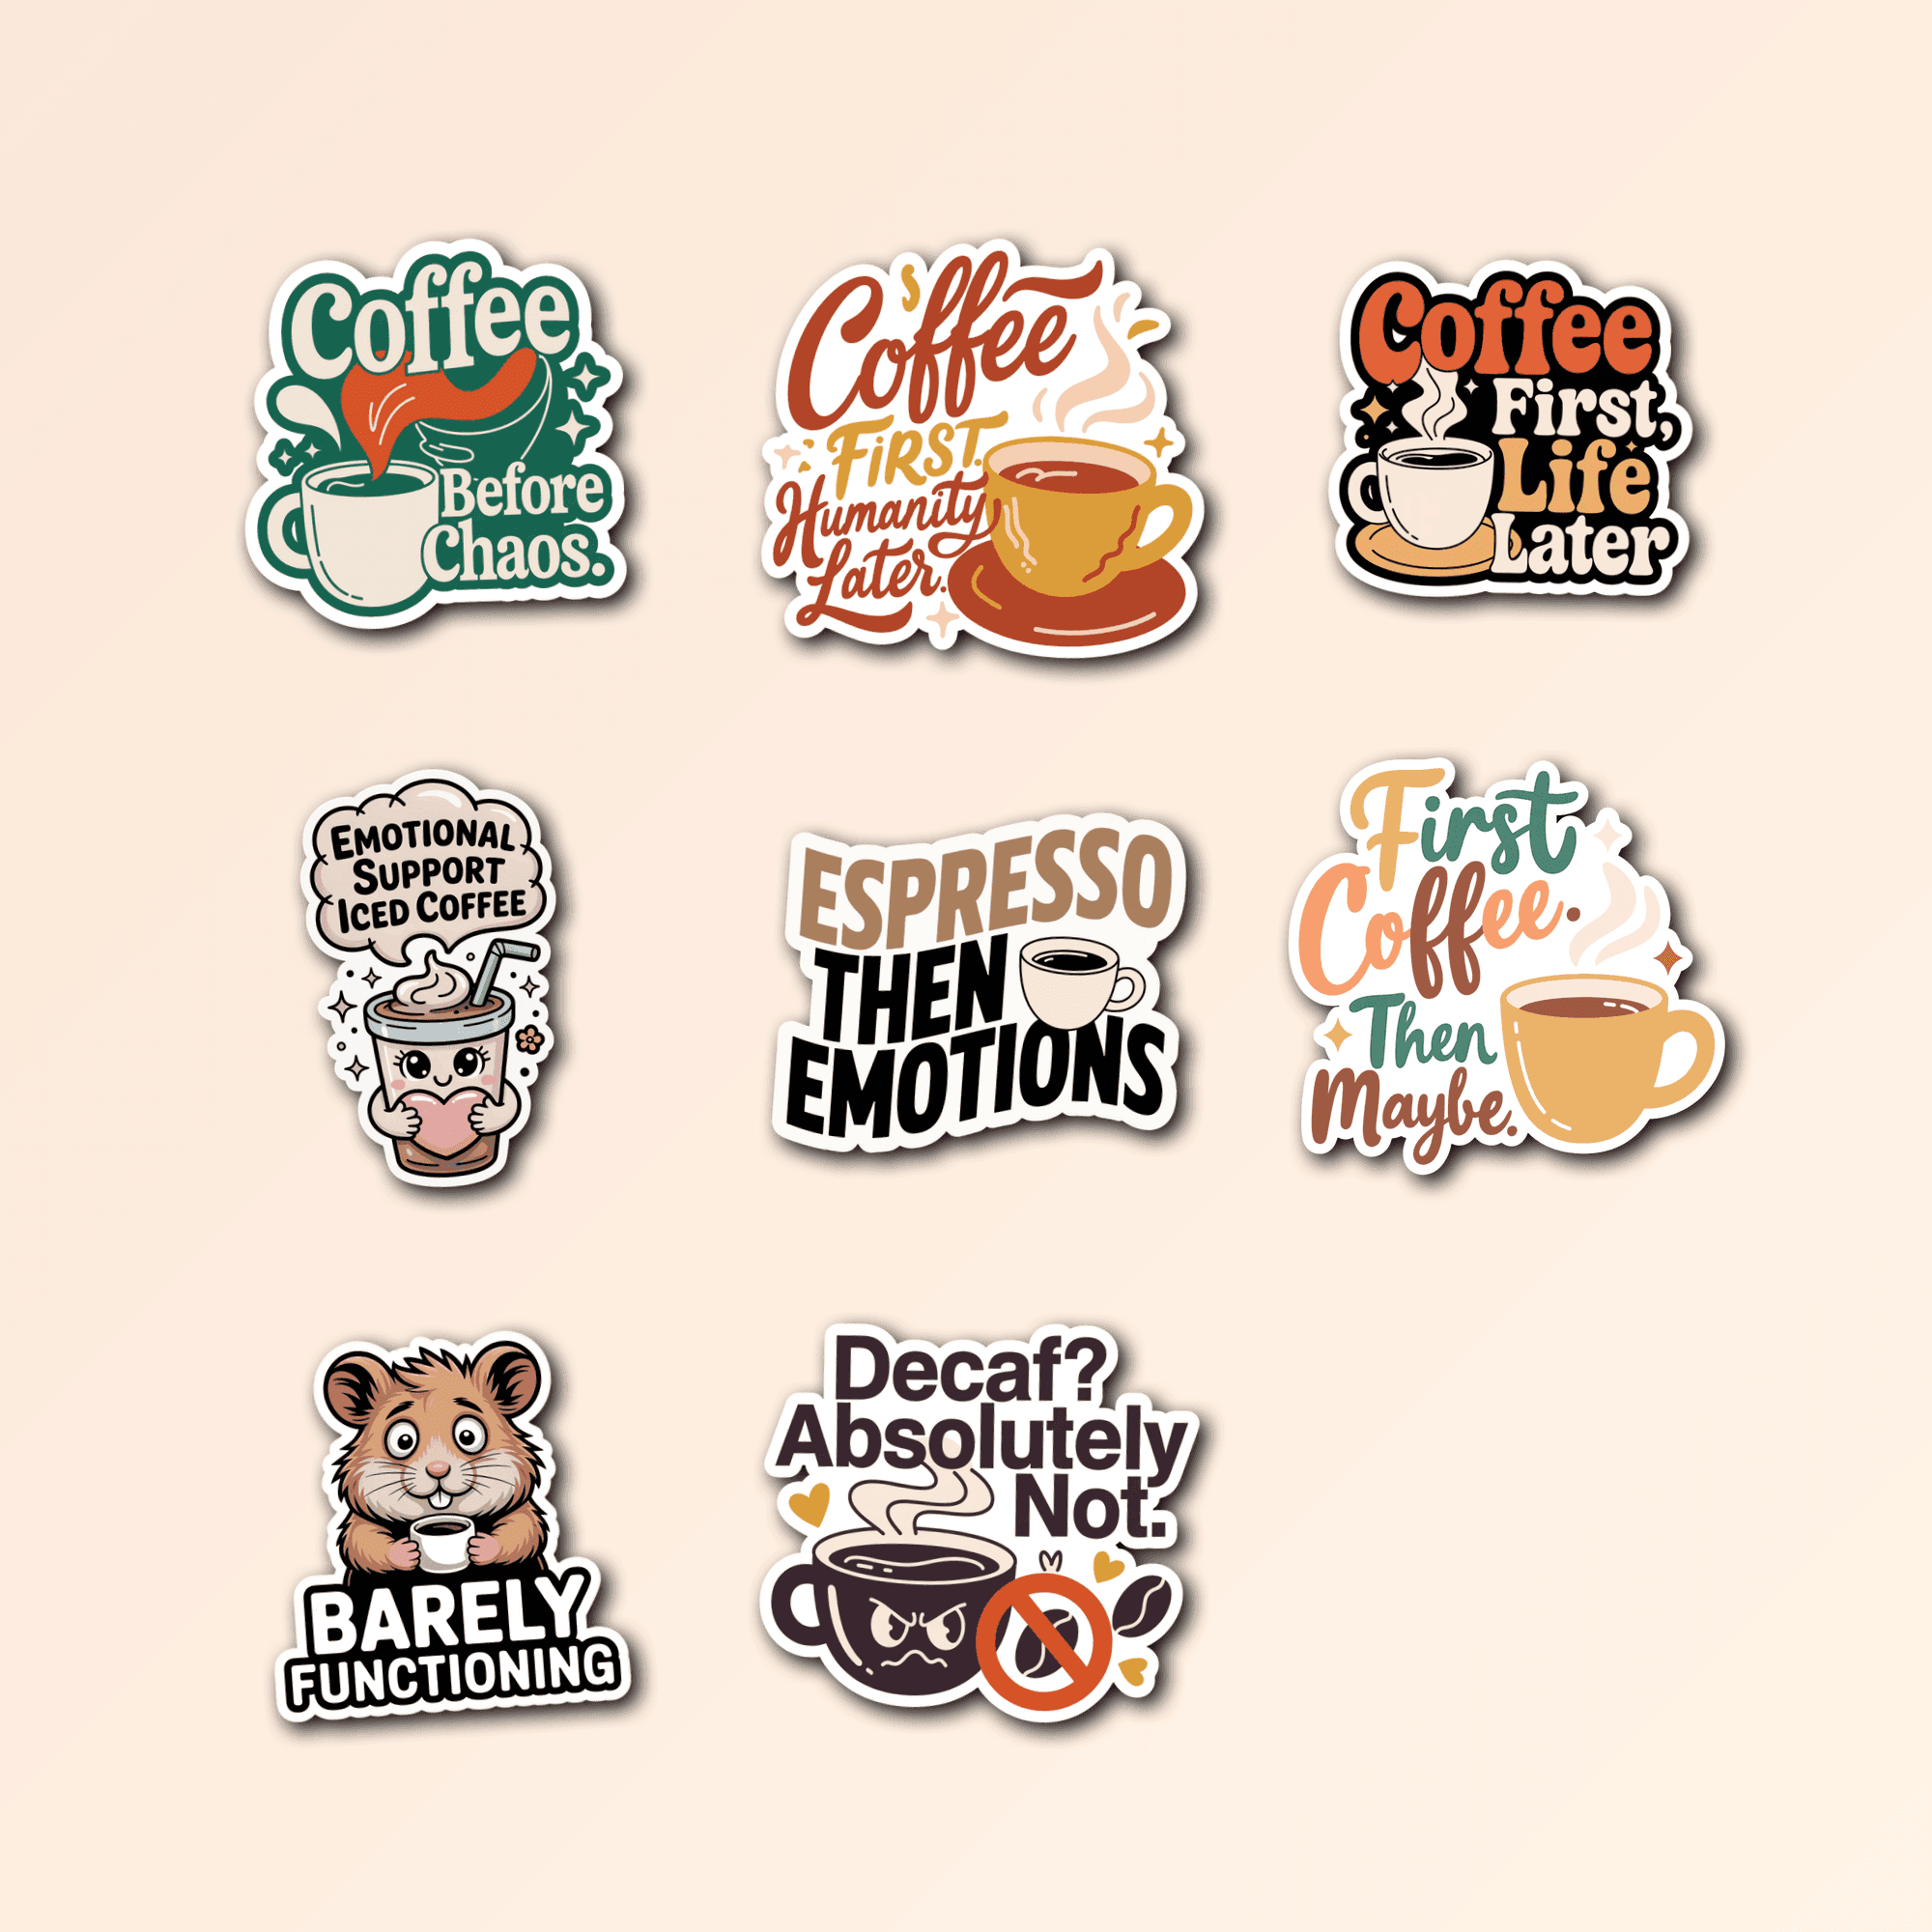
#1 — 8 Funny Coffee Sticker Pack — Premium Vinyl Decals #
by Sticker Pack
- ✅ Of course! Please provide the product features you’d like to highlight, and I’ll create the list for you.
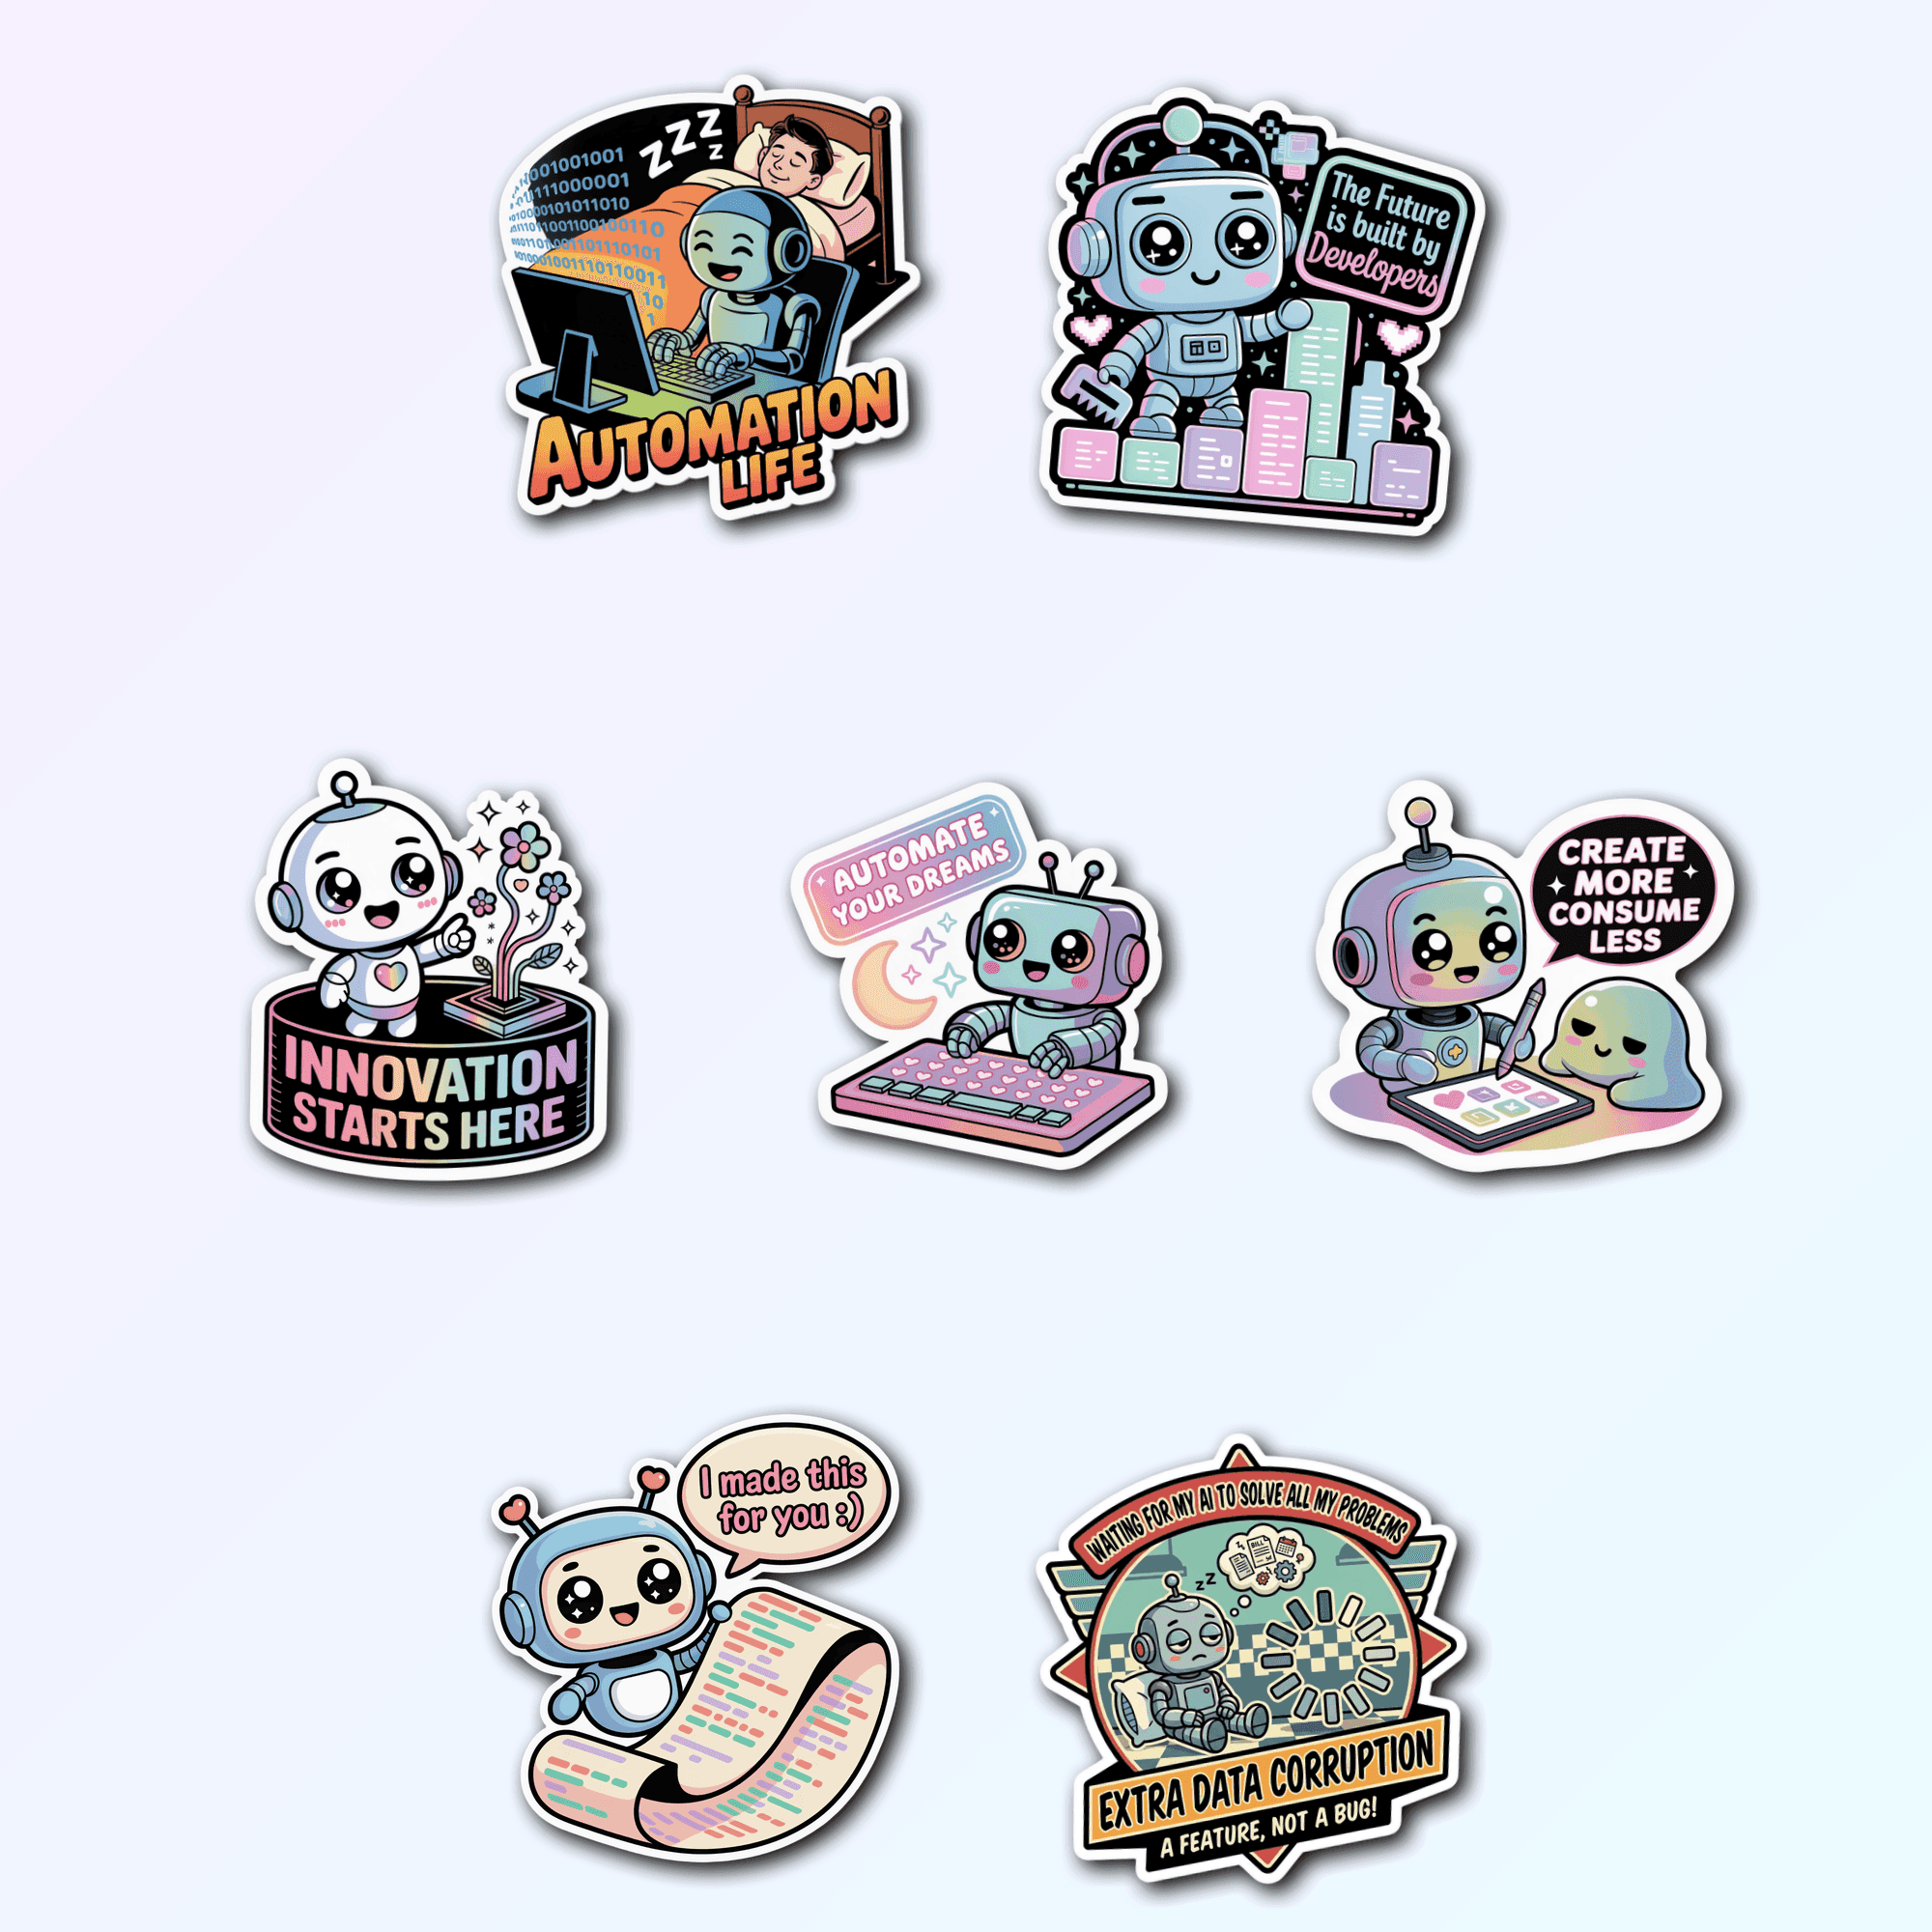
#2 — 7 Cute Robot Tech Sticker Pack — Premium Vinyl Decals #
by Sticker Pack
- ✅ Sure! Please provide the product features you’d like to highlight.
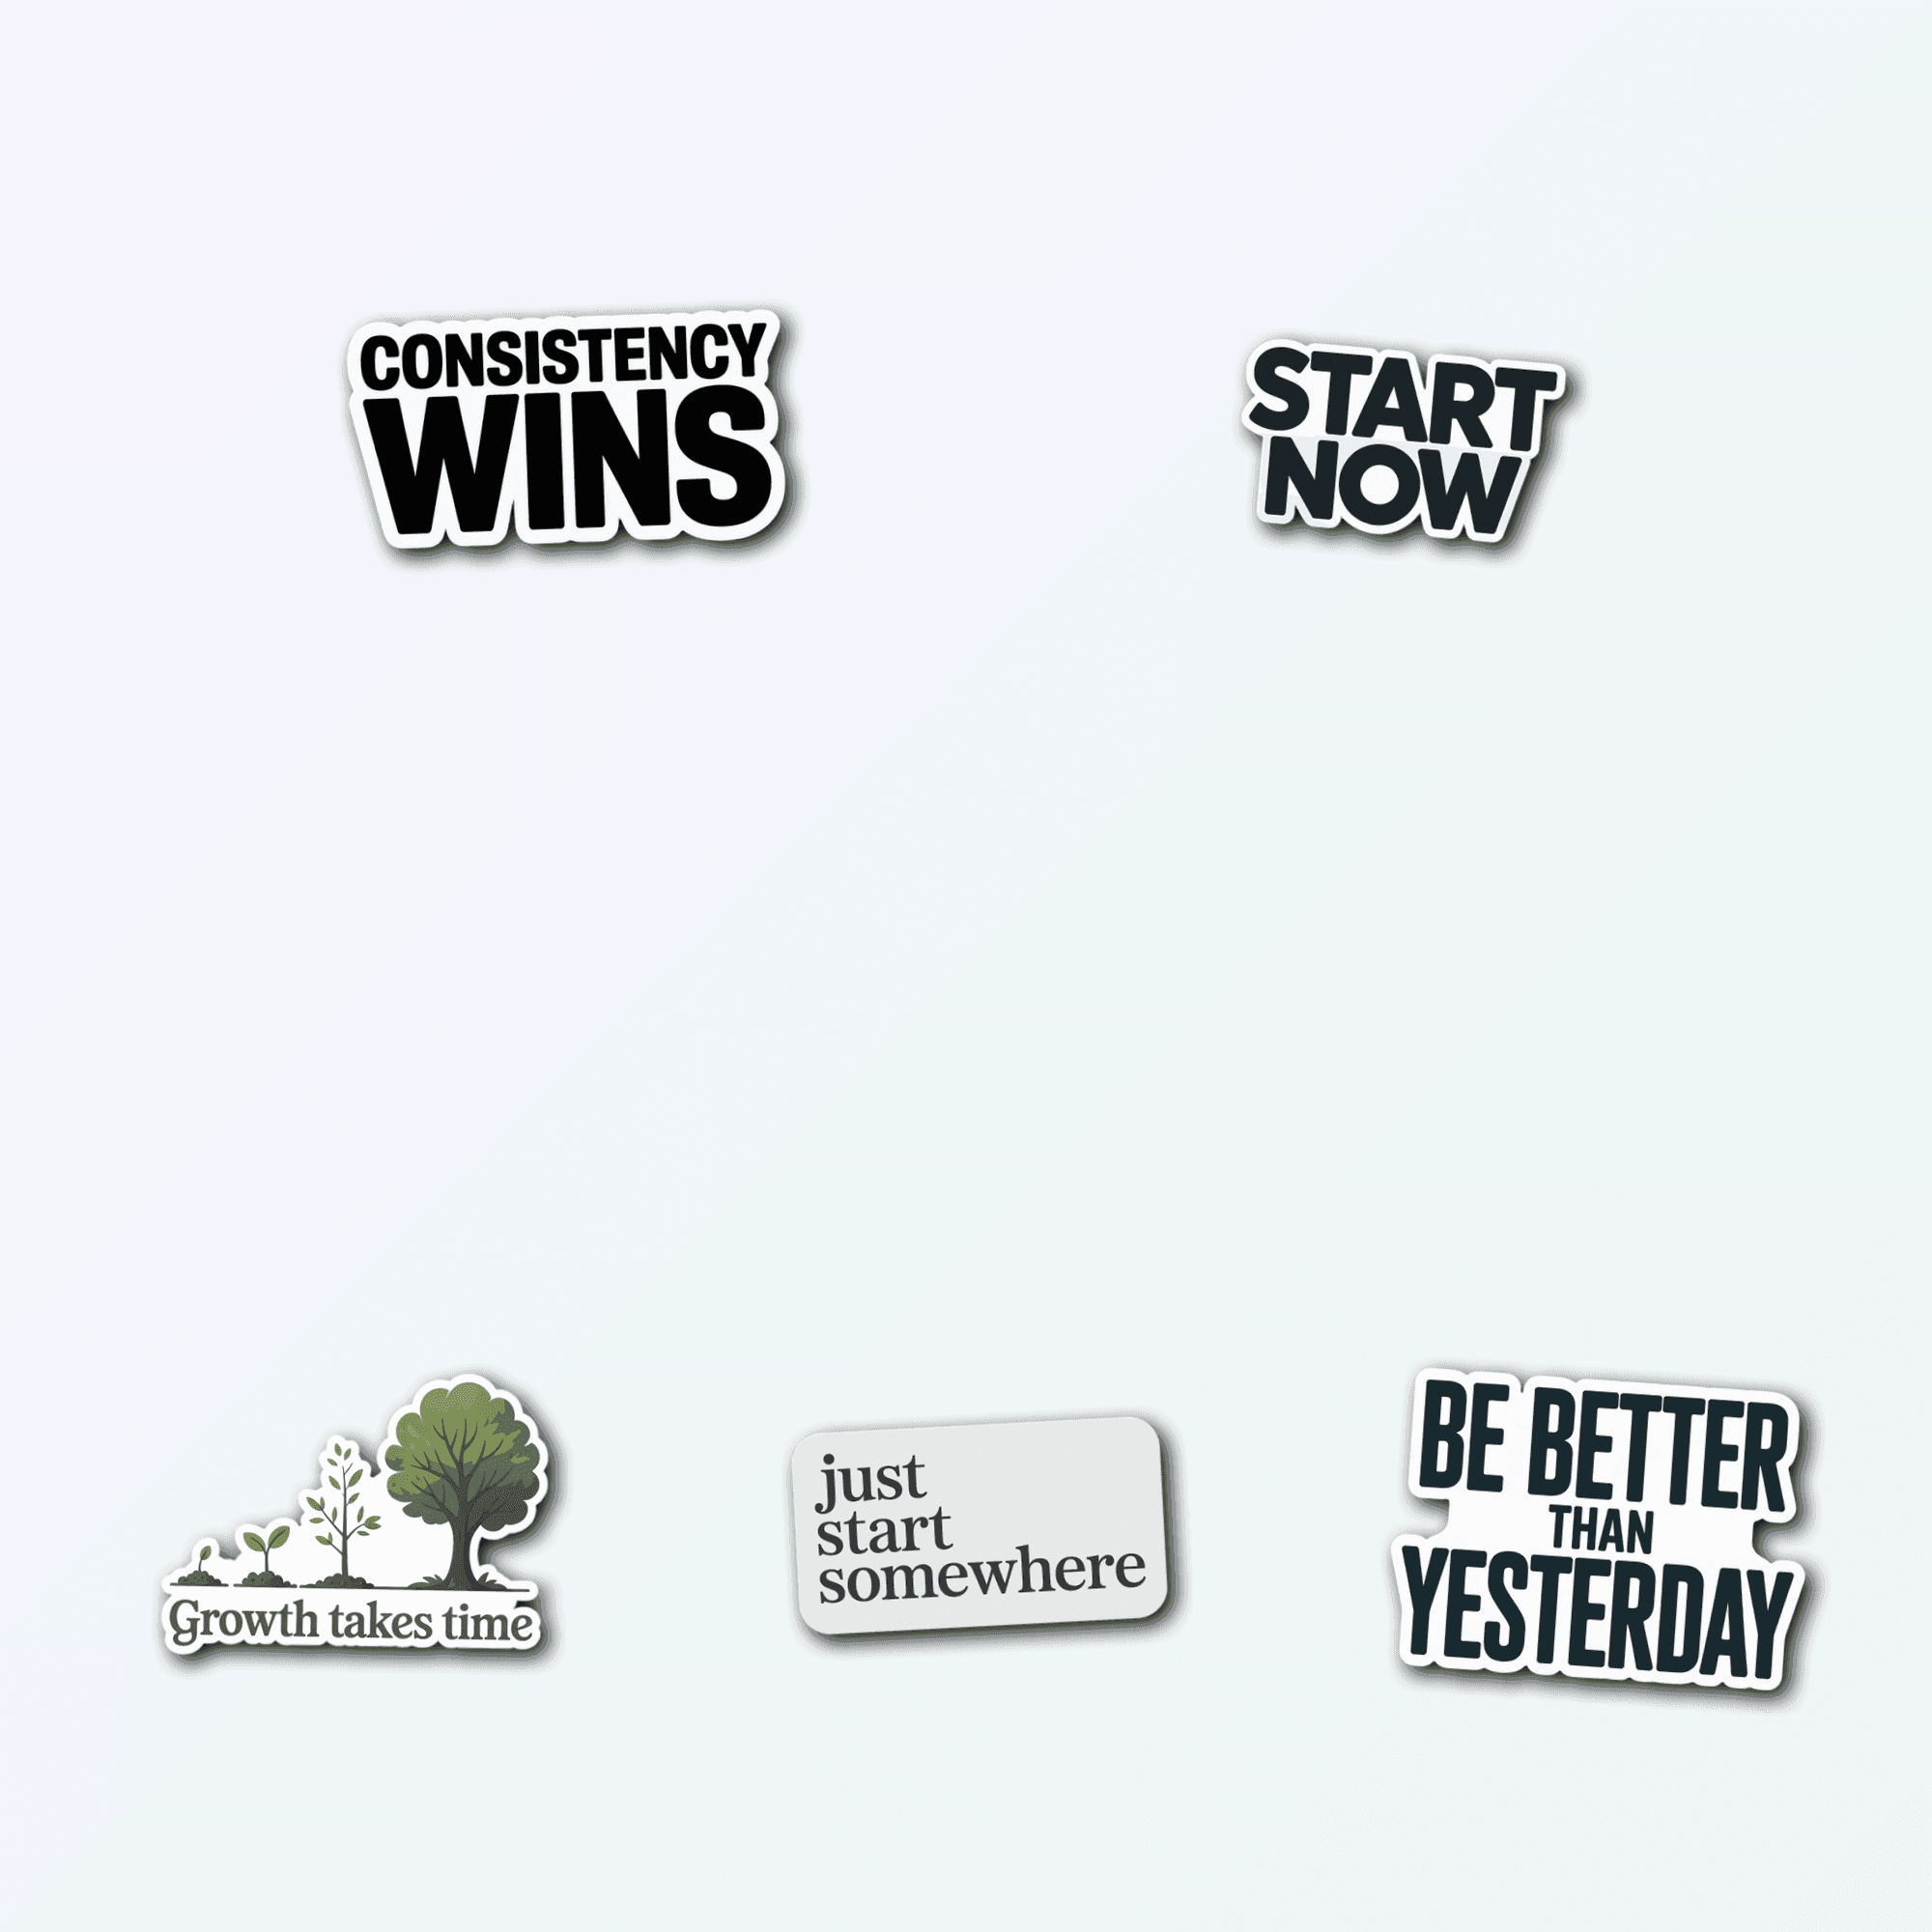
#3 — 5 Quote Vinyl Stickers Pack #
by Sticker Pack
- ✅ Sure! Please provide the product features you’d like me to focus on for the highlights.
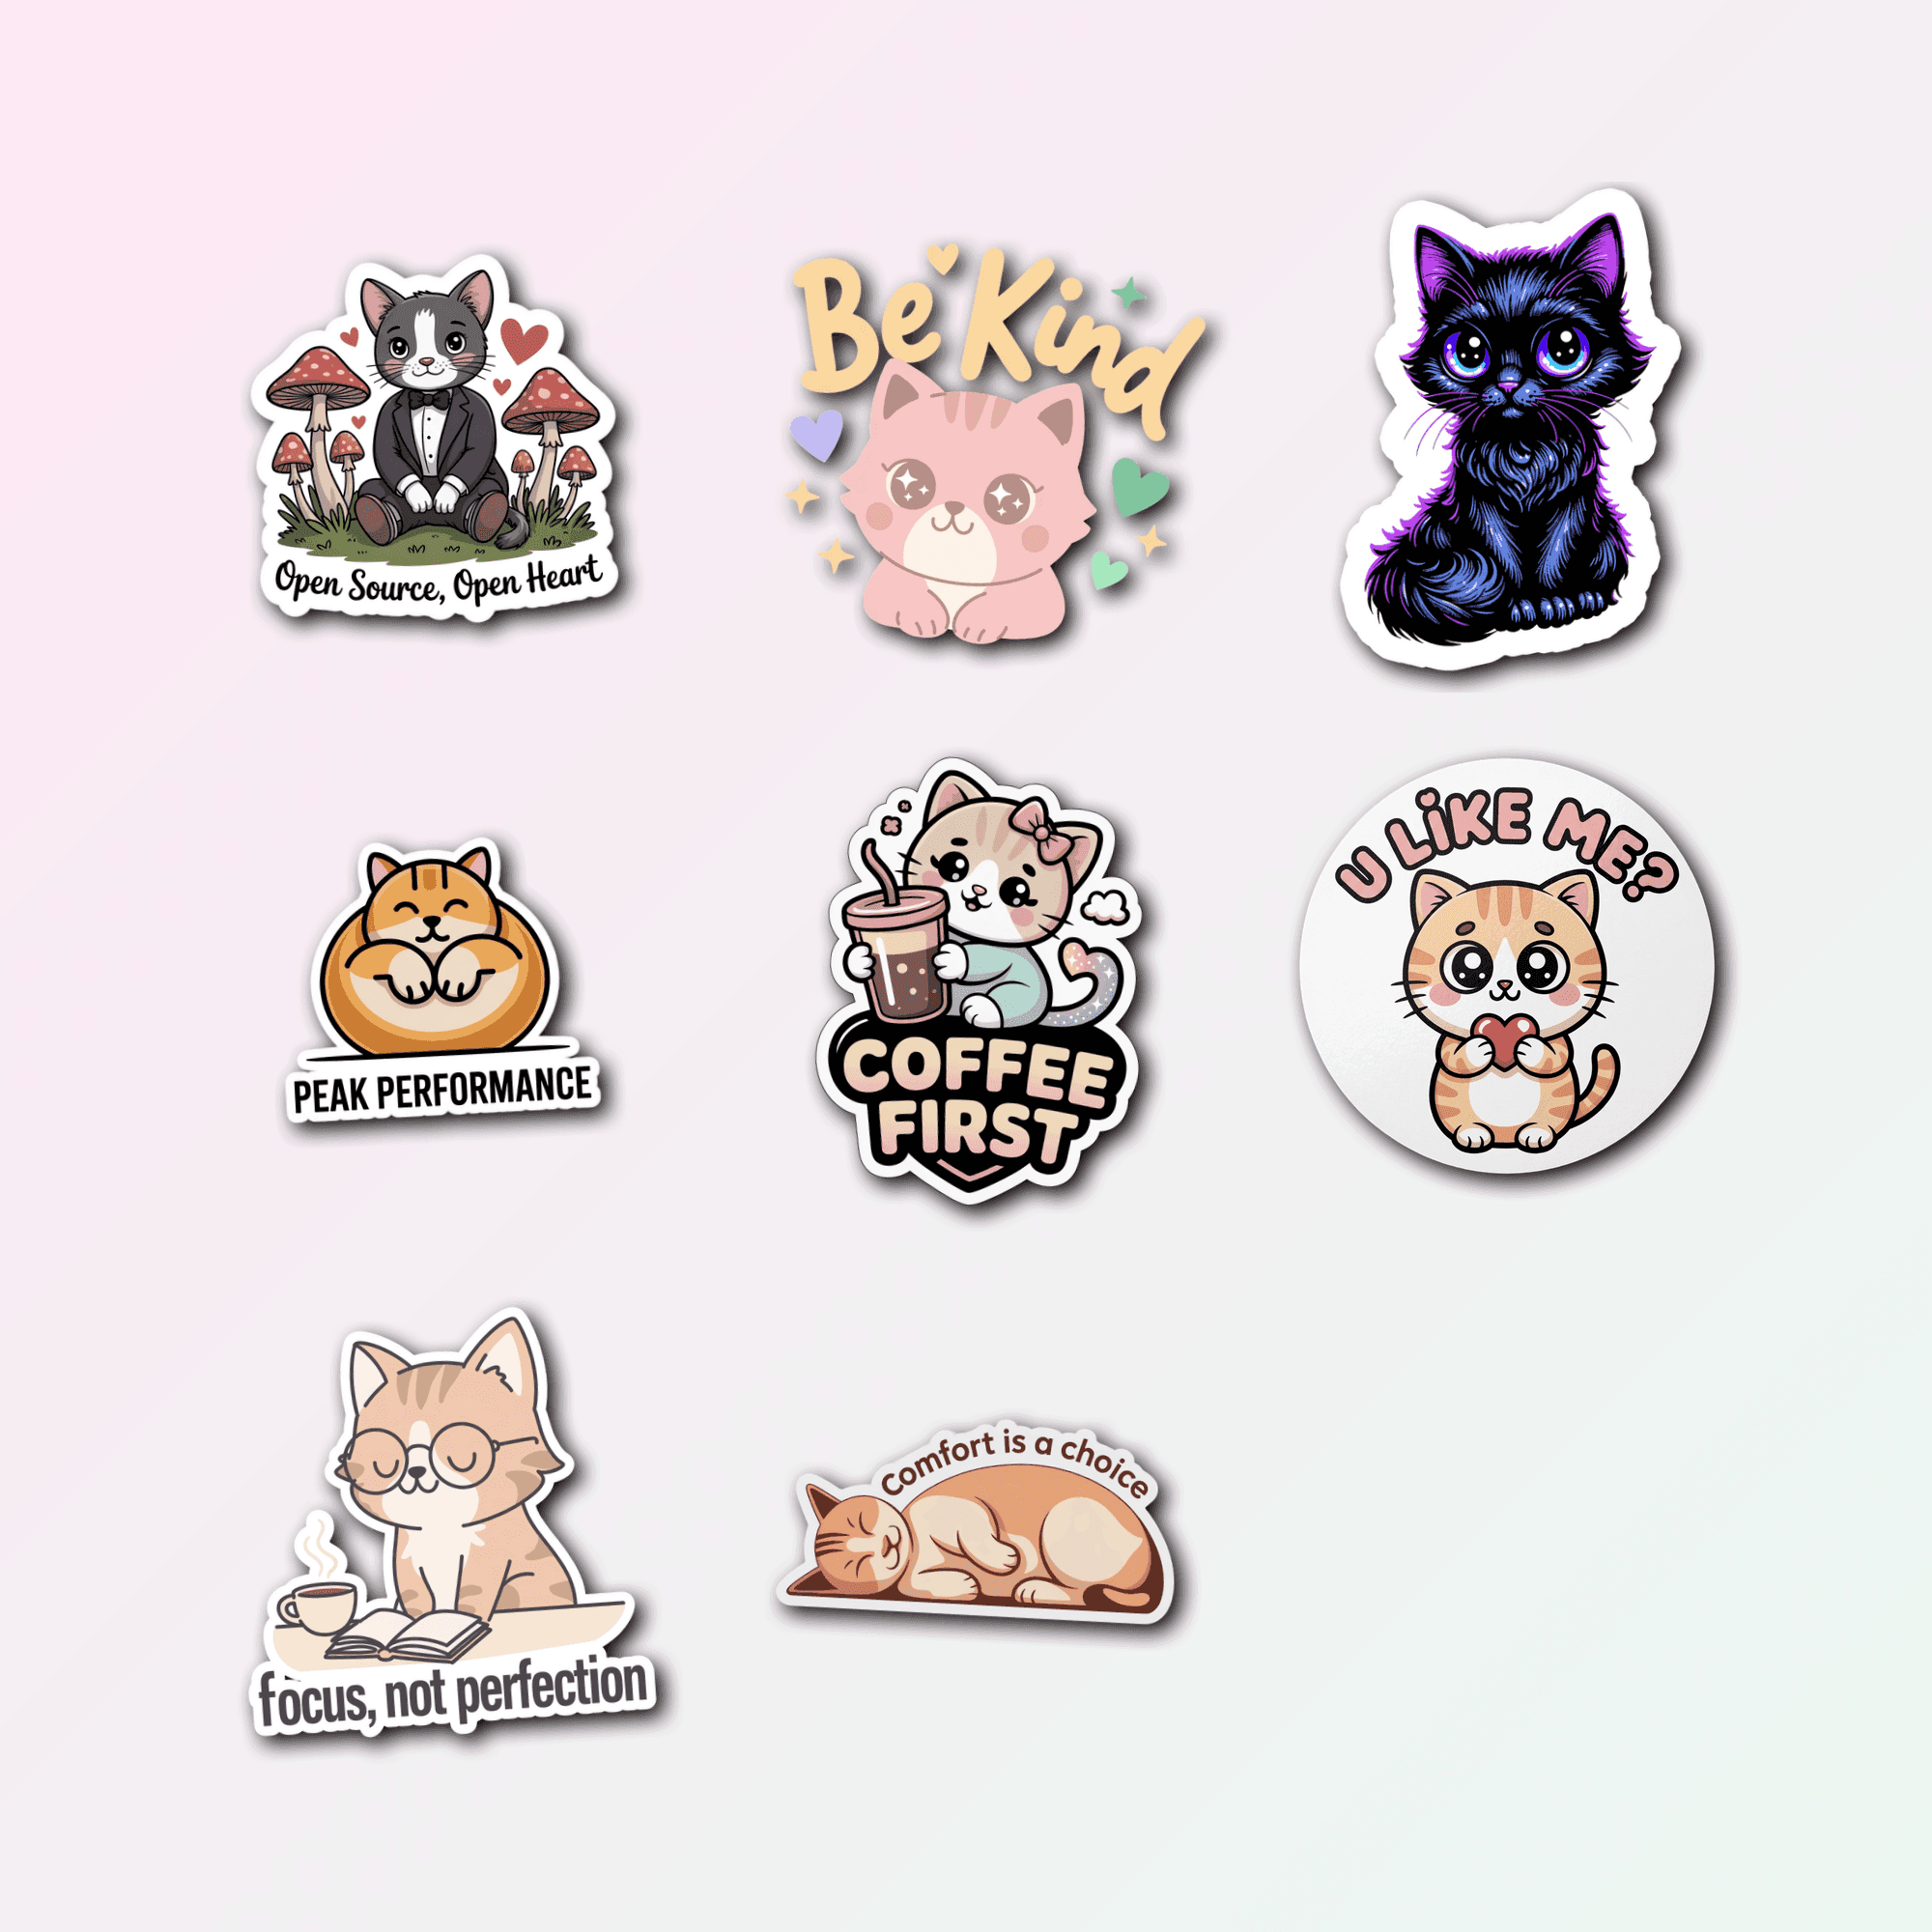
#4 — 8 Cute Cat Sticker Pack — Premium Vinyl Decals #
by Sticker Pack
- ✅ Sure! Please provide the product features you’d like me to highlight.

#5 — Soft Life Rich Mindset Motivational Vinyl Sticker #
by Sticker
- ✅ Sure! Please provide the product features you’d like me to highlight.
How to Make Vinyl Stickers at Home in 2026? Start With the Right Setup #
If you want clean, durable results, your setup matters more than fancy tricks.
For most home creators, the process looks like this:
- Design your sticker
- Print on printable vinyl
- Add laminate if needed
- Cut by hand or with a cutting machine
- Test adhesion and durability
That’s the simple version. The real magic is in choosing the right supplies and knowing where beginners usually mess up.
What you need to make vinyl stickers at home #
You don’t need a full production studio. You do need a few essentials that work well together.
Here’s the basic sticker-making toolkit:
- Printable vinyl sheets for ink-based or toner-based printing
- A home printer with decent color output
- Sticker design software or a template-based design app
- Cutting machine or precision scissors/craft knife
- Laminating sheets or clear protective film
- Cutting mat, scraper, and ruler
- Cleaning cloth for smooth application surfaces
If your goal is waterproof stickers, bottle labels, planner stickers, laptop decals, or product packaging, don’t skip the protective top layer. Plain printed vinyl can look great at first and still fail fast with moisture or friction.
Cricut vs hand-cut vs other home cutting methods #
If you’re only making a few stickers for fun, hand-cutting works.
If you want kiss-cut sticker sheets, contour cuts, or consistent custom shapes, a cutting machine saves time and improves accuracy. It’s especially helpful for small business packaging, logo stickers, and repeat orders.
That said, even with a cutter, the calibration step matters. A slightly off cut line can ruin an entire batch.
What to Look For Before You Make Vinyl Stickers at Home in 2026 #
Not all vinyl sticker supplies are equal. Some are made for indoor decorative use, while others hold up better against water, sunlight, and handling.
Here are the key features to look for before you buy anything.
Printable vinyl compatibility
Make sure the vinyl matches your printer type. Using the wrong sheet can cause smudging, poor ink absorption, or weak color saturation.Water resistance
If you’re making water bottle stickers, pantry labels, or outdoor decals, choose materials designed for moisture exposure.Adhesive strength
Some vinyl sticks well to flat notebooks but struggles on curved surfaces like bottles or jars. Test on the exact surface you plan to use.Finish type
Glossy vinyl gives brighter color and a polished look. Matte vinyl reduces glare and often feels more premium for branding or art stickers.Cut accuracy
A good sticker sheet should feed consistently and cut cleanly without tearing at corners.Lamination compatibility
If you plan to add a clear top layer, your vinyl and laminate should bond smoothly without silvering or trapped bubbles.Durability under handling
Stickers for laptops, tumblers, and shipping inserts need more abrasion resistance than decorative journal stickers.Eco-conscious options
More makers in 2026 are looking for lower-waste materials and recyclable packaging. If that matters to you, explore guides to diy eco-friendly vinyl stickers before stocking up.
Why Learning How to Make Vinyl Stickers at Home in 2026 Matters #
DIY vinyl stickers aren’t just a craft trend. They’re practical.
You can use them for personal projects, event favors, home organization, branding, packaging, and low-risk product testing before ordering in bulk. That flexibility is a huge advantage if you’re still experimenting with style, sizing, or audience demand.
Here’s why making your own stickers at home is worth it:
- You control the design from first sketch to final cut
- You can make short runs without meeting supplier minimums
- It’s perfect for testing products before scaling
- You can customize for seasons, events, and niche audiences
- You learn what quality actually looks like, which helps if you later decide to buy custom vinyl stickers online
That last point matters more than people realize.
Once you’ve made stickers yourself, you’ll understand lamination quality, edge finish, adhesive performance, and print sharpness. You’ll be much better at evaluating professional suppliers of durable custom vinyl stickers if you ever decide to outsource.
Step-by-Step: How to Make Vinyl Stickers at Home in 2026 Without Wasting Materials #
This is the workflow I recommend for clean results at home.
1. Create a design that cuts cleanly #
Simple designs are easier to cut and weed. Thin lines, tiny text, and ultra-detailed edges may look great on screen but fail during cutting.
Aim for:
- Bold outlines
- High contrast colors
- Readable text
- Clean borders around the sticker shape
If you’re making sticker sheets, leave enough spacing between each design so the cut lines don’t overlap.
2. Set up your file correctly #
Use high-resolution artwork. Pixelated files lead to soft edges and amateur-looking print quality.
For best results:
- Export at print-ready resolution
- Use the correct color settings for your printer workflow
- Add bleed if needed
- Double-check sticker size before printing
A 2-inch sticker feels very different from a 3-inch sticker once it’s on a bottle or laptop.
3. Print a test page first #
Never print directly onto your good vinyl sheet without testing alignment.
Print on regular paper first. Hold it over your vinyl and check sizing, margins, and cut placement. This one habit saves more material than any “hack” you’ll see online.
4. Print on vinyl using the correct settings #
Choose the paper type setting that gives the best ink coverage without oversaturation. Then let the sheet dry fully before touching it.
Rushing this step causes smears, fingerprints, and laminate issues.
Pro tip: If your print looks dull, don’t assume the vinyl is bad. Printer settings, media type selection, and image resolution usually cause the problem.
5. Add laminate for protection #
If your stickers need to survive water splashes, scratching, or frequent handling, laminate them.
Apply the clear film slowly from one edge to the other. Use a scraper or card to push out air as you go. If you trap bubbles early, lift gently and reapply before pressing everything down.
6. Cut your stickers #
Now load the sheet into your cutter or cut by hand.
If using a cutting machine:
- Run a small test cut first
- Recalibrate if your contour line is off
- Adjust pressure if corners tear
- Make sure the laminate layer isn’t confusing the sensor
If cutting by hand, a sharp blade matters. Dull tools drag the vinyl and leave fuzzy or jagged edges.
7. Test before making a full batch #
Apply one finished sticker to the surface it’s meant for.
Try it on a bottle, notebook, jar, laptop, or packaging sleeve. Check for lift, bubbling, and edge curl after 24 hours. This is especially important if you’re creating custom vinyl stickers for bottles, where curves and condensation can expose weak adhesive fast.
Common Mistakes People Make With DIY Vinyl Stickers #
Most sticker problems come down to workflow, not talent.
Here are the mistakes I see most often:
- Using the wrong printable vinyl for the printer
- Skipping dry time before lamination
- Applying laminate too fast
- Ignoring cut calibration
- Choosing designs that are too detailed
- Assuming “waterproof” means dishwasher-safe
- Selling stickers before testing them on real surfaces
That last one can hurt your reputation if you’re making stickers for customers.
A sticker that looks great in photos but peels off a bottle in two days is going to generate complaints. If you plan to sell, study what makes the best vinyl stickers for bottles perform well in the real world.
Expert Recommendations for Better Vinyl Sticker Results #
Once you know the basics, a few small upgrades make a big difference.
Use larger margins than you think you need #
Home printers and cutters aren’t always perfectly consistent. Extra margin gives you room to adjust without clipping artwork.
Design for the surface, not just the look #
A flat logo sticker and a curved bottle label behave differently. For bottles, shorter and slightly wider designs often apply more smoothly than tall, narrow ones.
Don’t chase perfect color on the first try #
Printable vinyl can shift color slightly compared to plain paper. Print small swatches and tweak from there instead of reprinting full sheets blindly.
Laminate only after the print has truly cured #
Dry to the touch isn’t always fully set. Give it extra time if your room is humid.
Keep a small sample binder #
Save one tested sample from each material combo: vinyl type, finish, laminate, printer setting, and cut pressure. This becomes your shortcut system later.
💡 Did you know: The most efficient home sticker makers aren’t the fastest crafters — they’re the ones who document what works so they don’t repeat failed settings.
How to Make Vinyl Stickers at Home in 2026 for Selling, Gifting, or Labeling #
Your end use changes your material choices.
For personal use #
If you’re decorating journals, laptops, storage bins, or phone cases, you can focus more on appearance and less on extreme durability.
For bottle labels and product packaging #
You need stronger adhesive, cleaner edges, and better moisture resistance. Condensation, handling, and shelf wear expose low-quality materials quickly.
For gifts and events #
Short-run custom stickers are ideal for party favors, weddings, school groups, and small business pop-ups. This is where home production shines because you can personalize fast.
For a side hustle #
Start with a few proven sticker types instead of trying to offer everything. One waterproof sticker sheet and one durable die-cut option can be enough to validate demand before expanding.
How to Get Started Today #
If you’re serious about learning How to Make Vinyl Stickers at Home in 2026?, don’t overcomplicate your first project.
Start with a simple plan:
Choose one sticker type
Try a basic die-cut or kiss-cut design first.Pick one surface use case
Laptop sticker, water bottle sticker, planner sticker, or packaging label.Buy a small pack of printable vinyl
Don’t stockpile materials before testing.Create 3 simple designs
Keep them bold and easy to cut.Print, laminate, and test
Use one sheet to learn, not to sell.Track your settings
Write down what worked so the next round is easier.
If you eventually decide home production isn’t the best fit, that’s not failure. It’s clarity. At that point, you’ll know whether to keep making your own, outsource, or combine both approaches depending on volume.
The smartest next move is simple: make one test sheet this week. Not next month. Not “after more research.” One sheet, one surface, one real-world test. That’s how you go from curious to confident — and from random craft attempts to vinyl stickers you’re actually proud to use or sell.
Frequently Asked Questions #
how do i make vinyl stickers at home that are actually waterproof? #
Use printable vinyl designed for moisture resistance and add a clear laminate layer on top. Then test the sticker on the actual surface, because “waterproof” performance depends on both the material and the adhesive.
what printer do i need to make vinyl stickers at home in 2026? #
You need a printer that handles printable vinyl consistently and produces sharp color output. The exact type matters less than using compatible vinyl sheets and correct print settings.
can i make vinyl stickers at home without a cutting machine? #
Yes, you can cut them by hand with sharp scissors or a craft knife if your shapes are simple. A cutting machine just makes contour cuts, sticker sheets, and repeat batches much faster and more precise.
is it cheaper to make your own vinyl stickers or order them online? #
Making them at home is often cheaper for small batches, prototypes, and custom one-off designs. Ordering online usually becomes more efficient when you need larger quantities or highly consistent commercial-grade finish.
what is the best vinyl for homemade bottle stickers? #
The best option is a printable vinyl with strong adhesive, good flexibility on curves, and a protective laminate for moisture and scuff resistance. If bottle performance is your priority, test materials specifically meant for curved, handled surfaces before selling or gifting them.